Drip irrigation is an efficient and effective method of watering plants by delivering water directly to the plant’s root zone. To make the best use of a drip irrigation kit, here are some steps to follow:

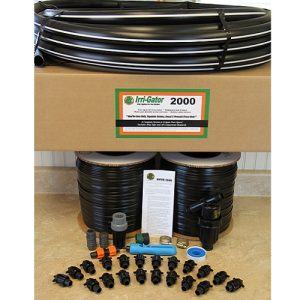
IrriGator 2000
- Plan your layout: Before installing the drip irrigation system, evaluate your garden or landscape and plan the layout accordingly. Consider the water requirements of different plants, the available water source, and the specific needs of your garden beds or containers.
- Gather necessary materials: Acquire a drip irrigation kit that suits your needs. These kits typically include tubing, emitters, connectors, and other essential components. Additionally, you may need tools such as scissors or a hole punch to modify the tubing as required. Note that Triple K Irrigation sells Drip Irrigation Kits in a variety of sizes: 2000 feet, 1000 feet, 250 feet, 100 feet, and a Micro Irrigation Kit. Each kit comes with all the supplies you need to complete your installation.
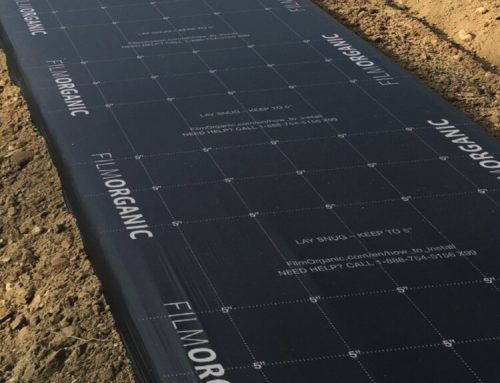
- Prepare the area: Clear the planting beds or containers of any debris or obstacles. Remove weeds or grass that may interfere with the proper placement of the drip irrigation system.
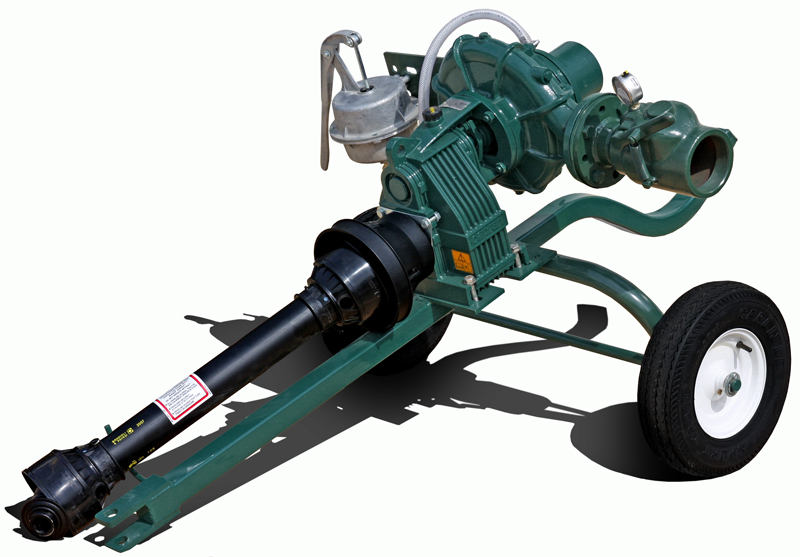
- Connect to a water source: Determine the water source for your drip irrigation system. This could be a faucet, rain barrel, or a dedicated irrigation line. Connect the main supply line of the drip kit to the water source. If necessary, use a pressure regulator and a filter to ensure consistent water pressure and filter out any impurities.
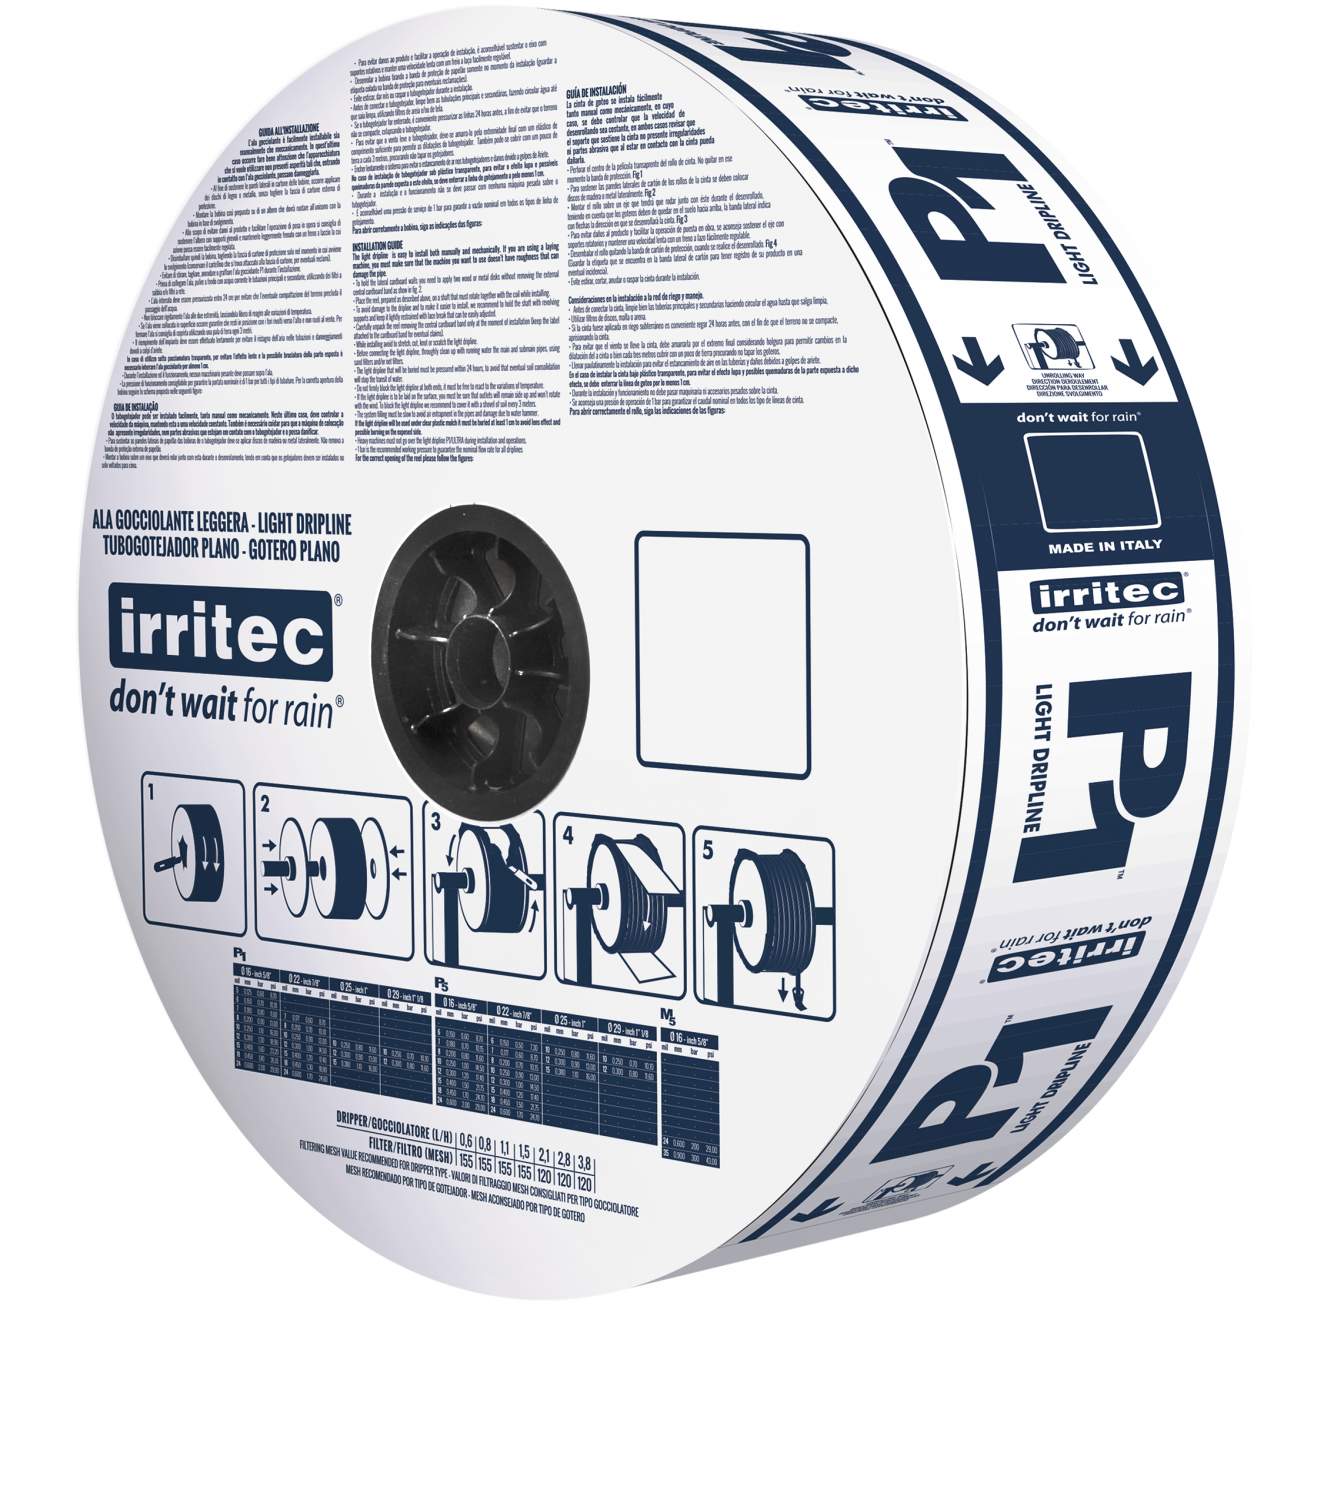
- Lay out the tubing: Lay the main tubing along the planting beds or containers, ensuring it reaches all the areas you want to irrigate. Cut the tubing to the desired lengths and use connectors to join multiple sections together. Avoid sharp bends or kinks in the tubing, as they can restrict water flow.
- Install emitters: Attach the appropriate emitters to the tubing near the base of each plant. Emitters come in various types, such as drippers, micro-sprinklers, or soaker hoses. Consider the water needs of different plants when selecting the appropriate emitters.
- Secure the tubing: Use stakes or clips to secure the tubing in place and prevent it from moving or getting damaged. Make sure the emitters are positioned correctly and deliver water directly to the plant roots.
- Test the system: Turn on the water supply and check for any leaks or issues with the system. Adjust the flow rate if necessary to ensure that each plant receives adequate water.
- Maintain and monitor: Regularly inspect the drip irrigation system for clogs, leaks, or damaged components. Clean or replace emitters as needed. Monitor your plants’ moisture levels to ensure they are receiving sufficient water without overwatering.
By following these steps and adapting them to your specific gardening needs, you can effectively use a drip irrigation kit to provide targeted and efficient watering for your plants, promoting healthy growth while conserving water.
Do you still have questions? Give us a call at 517-458-9741!


